
- Home
- Getting Started
- Documentation
- Release Notes
- Tour the Interface
- Tour the Layers
- JMARS Video Tutorials
- Lat/Lon Grid Layer
- Map Scalebar
- Nomenclature
- Crater Counting
- 3D
- Shape Layer
- Mosaics
- Map
- Advanced/Custom Maps
- Graphic/Numeric Maps
- Custom Map Sharing
- Stamp
- THEMIS
- MOC
- Viking
- CRISM Stamp Layer
- CTX
- HiRise
- HiRISE Anaglyph
- HiRISE DTM
- HRSC
- OMEGA
- Region of Interest
- TES
- THEMIS Planning
- Investigate Layer
- Landing Site Layer
- Tutorials
- Video Tutorials
- Displaying the Main View in 3D
- Finding THEMIS Observation Opportunities
- Submitting a THEMIS Region of Interest
- Loading a Custom Map
- Viewing TES Data in JMARS
- Using the Shape Layer
- Shape Layer: Intersect, Merge, and Subtract polygons from each other
- Shape Layer: Ellipse Drawing
- Shape Layer: Selecting a non-default column for circle-radius
- Shape Layer: Selecting a non-default column for fill-color
- Shape Layer: Add a Map Sampling Column
- Shape Layer: Adding a new color column based on the values of a radius column
- Shape Layer: Using Expressions
- Using JMARS for MSIP
- Introduction to SHARAD Radargrams
- Creating Numeric Maps
- Proxy/Firewall
- JMARS Shortcut Keys
- JMARS Data Submission
- FAQ
- Open Source
- References
- Social Media
- Podcasts/Demos
- Download JMARS
Shape Layer: Selecting a non-default column for circle-radius
The purpose of this tutorial is to walk users through the process of opening JMARS, opening the Shape Layer and selecting a non-default column for the circle-radius.
Step 1: Opening JMARS and adding the Shape Layer
- Double-click the JMARS icon on your desktop to open JMARS
- Enter your JMARS user name and password. If you do not have a user name and password, follow the instruction under the appropriate "Getting Started" link on the Main Page.
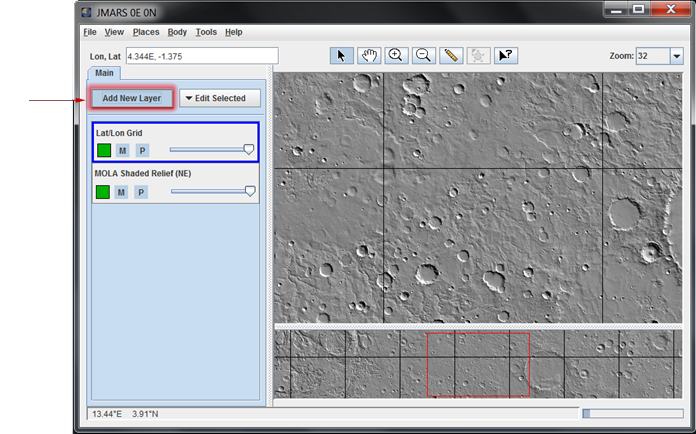
- At this point, the Layer Manager should only have the MOLA Shaded Relief Layer and the Lat/Lon Layer loaded.
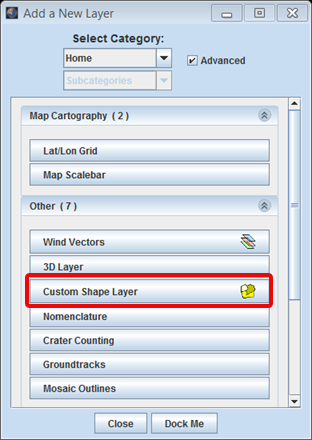
- In the Layer Manager, click "Add New Layer" -> "Custom Shape Layer", then double-click on the "Custom Shape" tab to access the focus panel.
Step 2: Creating a New Column
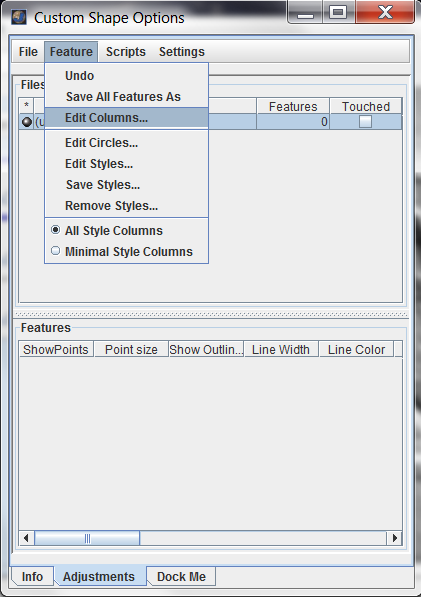
- In "Features" tab of the Shape Layer focus panel, select "Edit Columns..." option.
- In the Edit Columns window that opens up, type the name of the new column and select its type from the Type drop-down menu. Click on "Add Column".
- The new column name together with its type should appear in the list of columns on the left.
- Select the "Update All Rows" check box and click "Okay".
- The new column that you just added should appear as a column in the Features on the Shape Layer focus panel.


Step 3: Selecting the newly created column for circle radius.
- At the top of the Shape Layer focus panel, click on "Feature" -> "Edit Circles...".
- In the new "Geometry Options" window that opens, select the newly created column name from the drop-down menu for the "Circle Radius Field" and select the desires unit of measurement from the" Circle Radius Scale" drop-down menu.
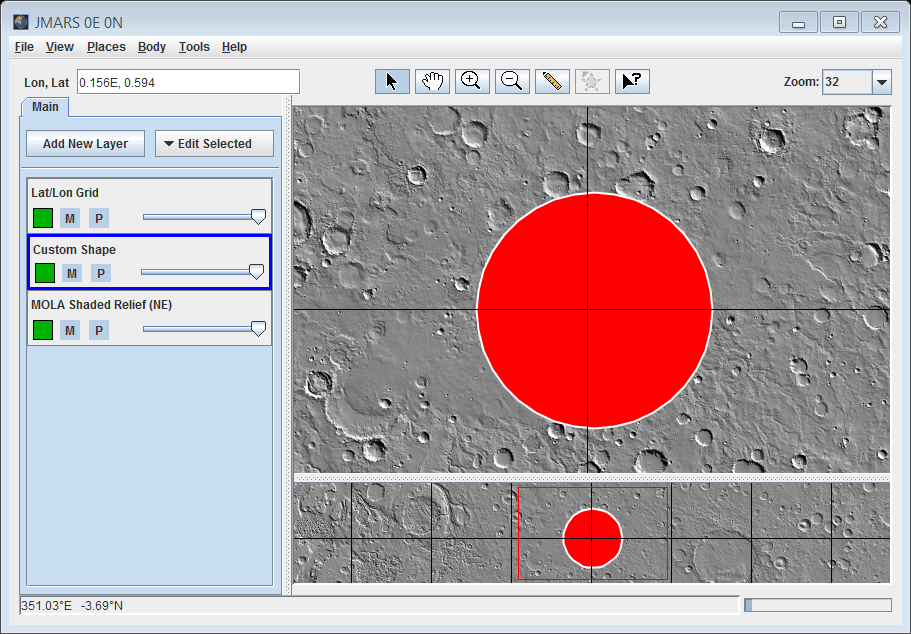
- Now draw a circle in the Main View. The radius of the circle drawn will appear under the new column name (new_radius in our case).


Congratulations! You have finished the eighth JMARS tutorial!