
- Home
- Getting Started
- Documentation
- Release Notes
- Tour the Interface
- Tour the Layers
- JMARS Video Tutorials
- Lat/Lon Grid Layer
- Map Scalebar
- Nomenclature
- Crater Counting
- 3D
- Shape Layer
- Mosaics
- Map
- Advanced/Custom Maps
- Graphic/Numeric Maps
- Custom Map Sharing
- Stamp
- THEMIS
- MOC
- Viking
- CRISM Stamp Layer
- CTX
- HiRise
- HiRISE Anaglyph
- HiRISE DTM
- HRSC
- OMEGA
- Region of Interest
- TES
- THEMIS Planning
- Investigate Layer
- Landing Site Layer
- Tutorials
- Video Tutorials
- Displaying the Main View in 3D
- Finding THEMIS Observation Opportunities
- Submitting a THEMIS Region of Interest
- Loading a Custom Map
- Viewing TES Data in JMARS
- Using the Shape Layer
- Shape Layer: Intersect, Merge, and Subtract polygons from each other
- Shape Layer: Ellipse Drawing
- Shape Layer: Selecting a non-default column for circle-radius
- Shape Layer: Selecting a non-default column for fill-color
- Shape Layer: Add a Map Sampling Column
- Shape Layer: Adding a new color column based on the values of a radius column
- Shape Layer: Using Expressions
- Using JMARS for MSIP
- Introduction to SHARAD Radargrams
- Creating Numeric Maps
- Proxy/Firewall
- JMARS Shortcut Keys
- JMARS Data Submission
- FAQ
- Open Source
- References
- Social Media
- Podcasts/Demos
- Download JMARS
New Custom Map Interface
The Custom Maps Layer has a new look and feel! The custom map layer allows users to load custom-built maps into JMARS.
Opening the Custom Map Manager:
There are three ways to open the Custom map manager:
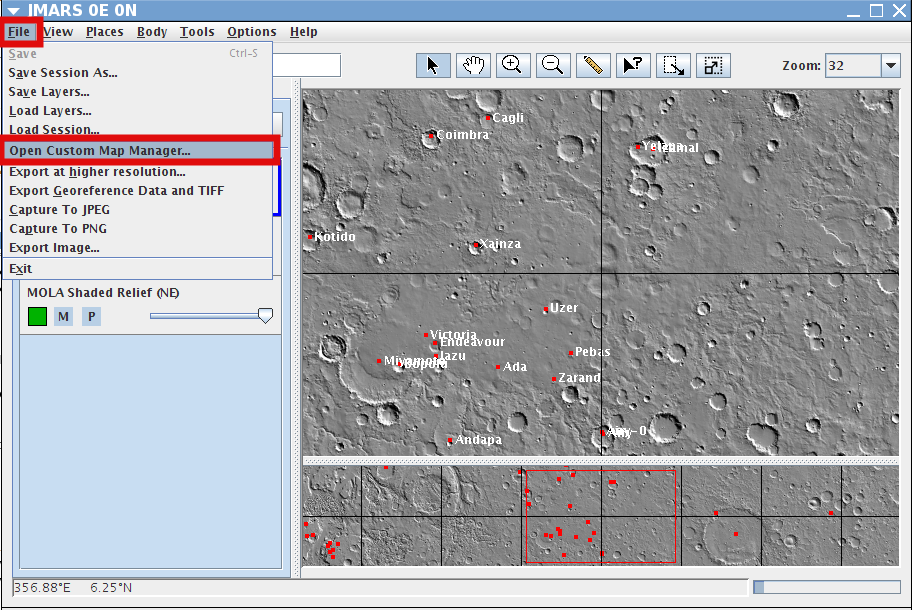
- Through the file tab at the top-left corner of JMARS:
- In the "Add Layer" Dialog Box:
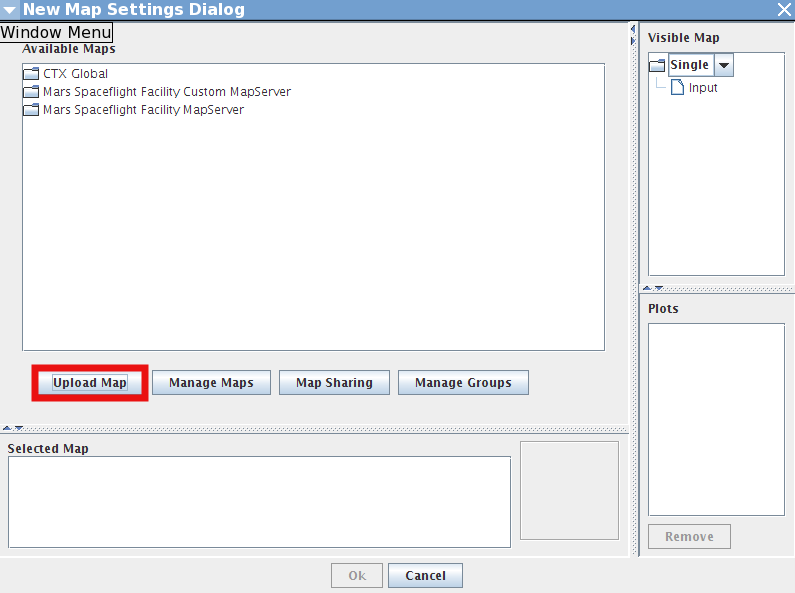
- Through the Advanced Map Dialog Box:

The Custom Map Manager: How to upload an Image
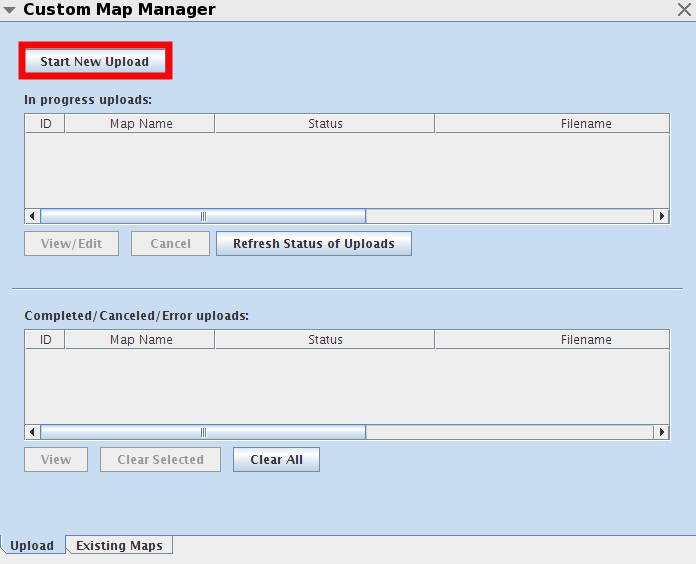
When the custom map manager is open, click "Start New Upload":
After you select the upload image, The Custom Map Upload window should open.
- Selected File(s): Shows which maps were selected to upload. You can select more then one map to be uploaded at one time, however, they will all get the same geospatial information that you enter.
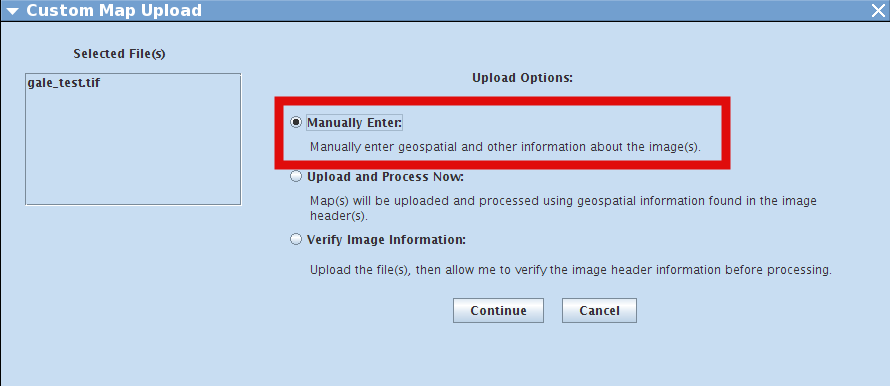
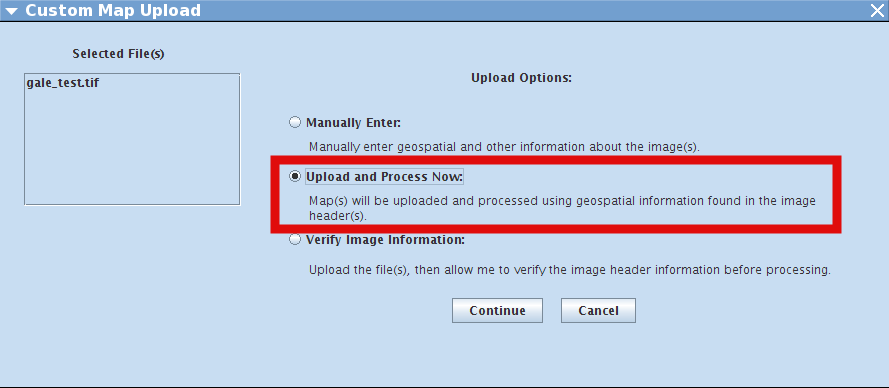
- Upload Options: There are 3 different options when uploading an image, Manually Enter the corner points, Upload and process Now and Verify Image Information.
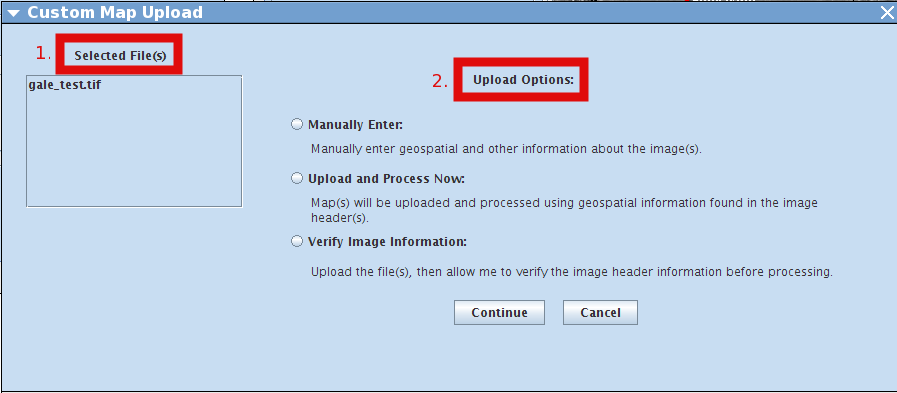
- Manually Enter: You may want to use this option if your image does not have geospatial information OR if you know the corner points you want to use.
- Upload and Process Now: If your image has a geospatial header with corner points, you may want to upload it and allow it to go through the entire process automatically.
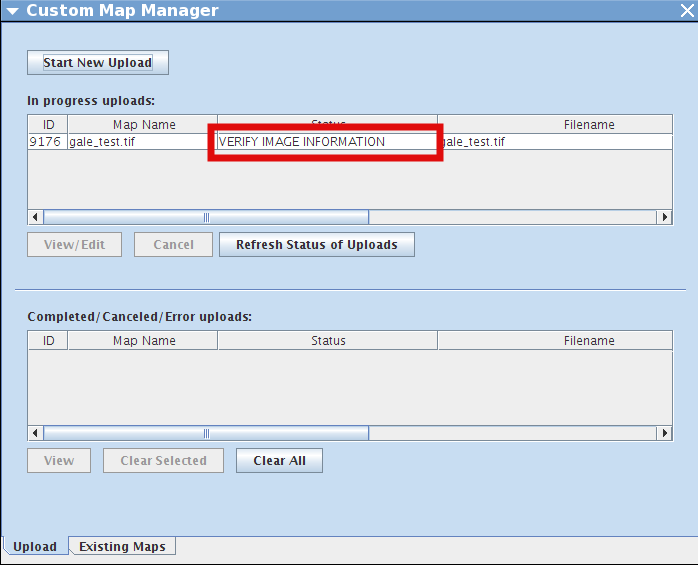
- Verify Image Information: Verify Image Information is useful if you don't know what the geospatial header is and would like to see. This step reads the image header and stops to verify with the user that the information is correct before completing the upload.
When "Manually Enter" is selected, the next window will appear that lets you put corner points in for your image. The "Ignore Value" and the "Unit" box ARE OPTIONAL. The rest of the boxes need to be filled in to have a successful upload.

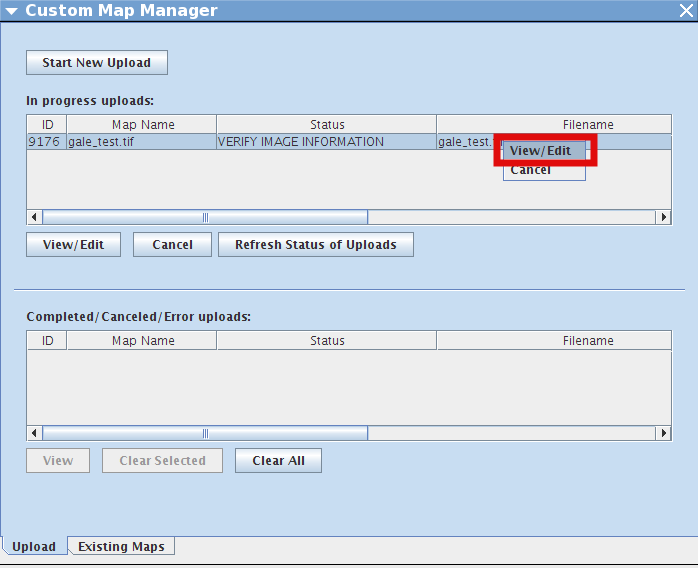
When the Custom Map Manager says "VERIFY IMAGE INFORMATION" under the status column, select the file and then right-cick the selected file. Click the "View/Edit". This will open the Verification dialog.
*NOTE* : The Ignore value and Units boxes ARE optional, the rest of the boxes need to be filled out in order to upload your map successfully.
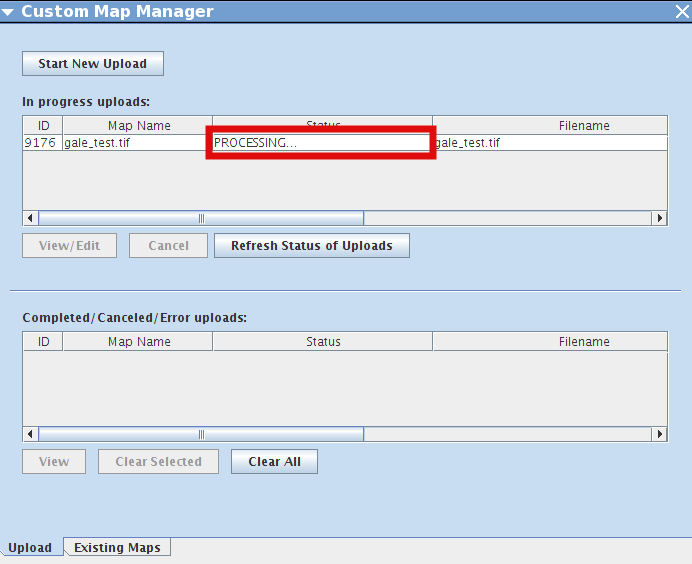
Once an option is selected and the image is being uploaded, the Custom Map Manager will show the image and it's status in the "In Progress Uploads" section of the Custom Map Manager.
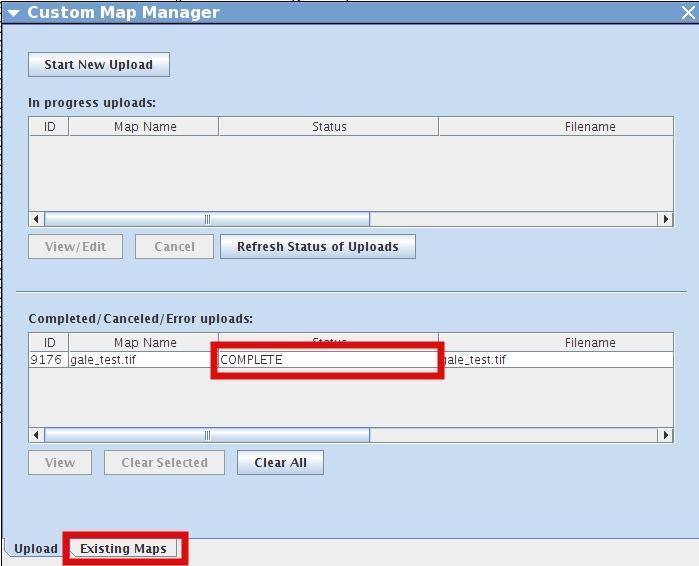
When the map is done processing, it will move to the "Completed/Canceled/Error uploads" table. This table shows the outcomes of each uploaded image. If there was an error in uploading the image, it will say "Error" in the status column and give an explaination. If you cancel your upload, it will change the status to "cancel".
If you'd like to see more or less columns, you can right click the column header to see the available options for that table.

When the map status says "Complete", click the "Existing Maps" tab at the bottom of the page.
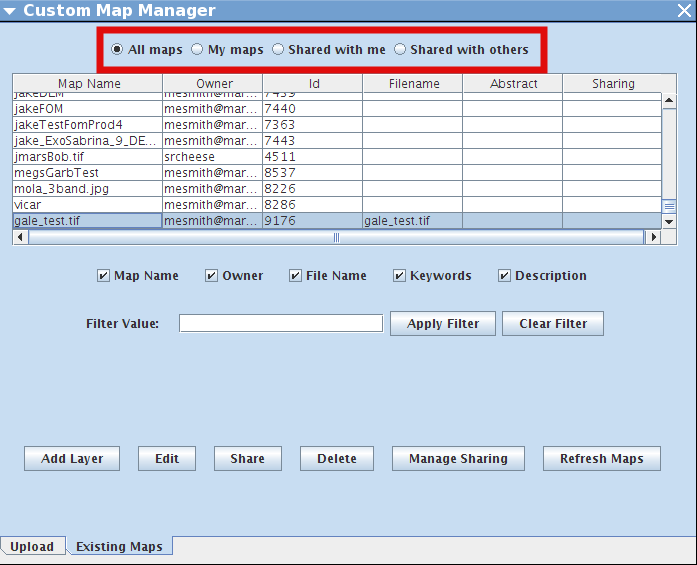
You can filter the maps you would like to see using the radio buttons at the top of the window.
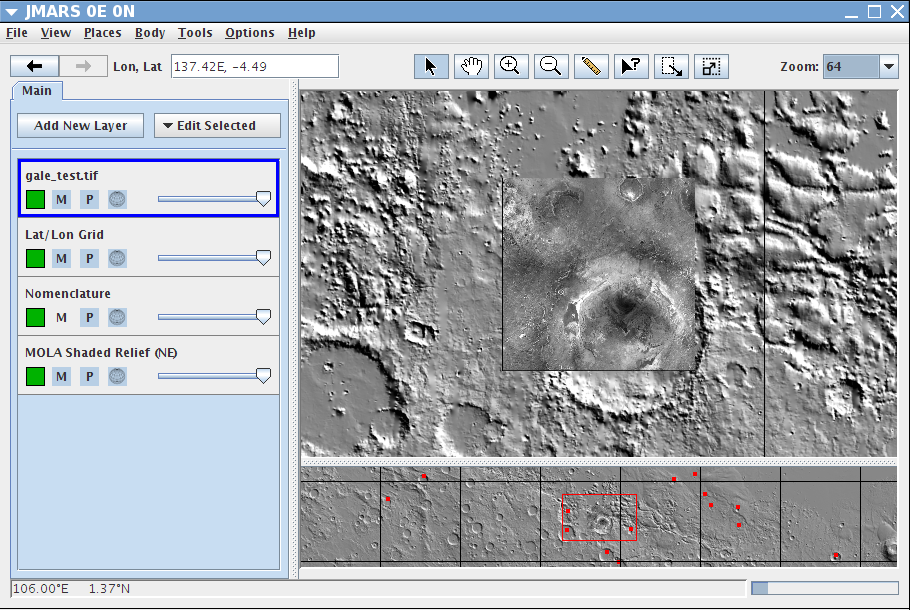
When you are ready to upload the image, you can either select the map and right click to get to "Add Layer" OR you can select the map and then click the "Add Layer" button.
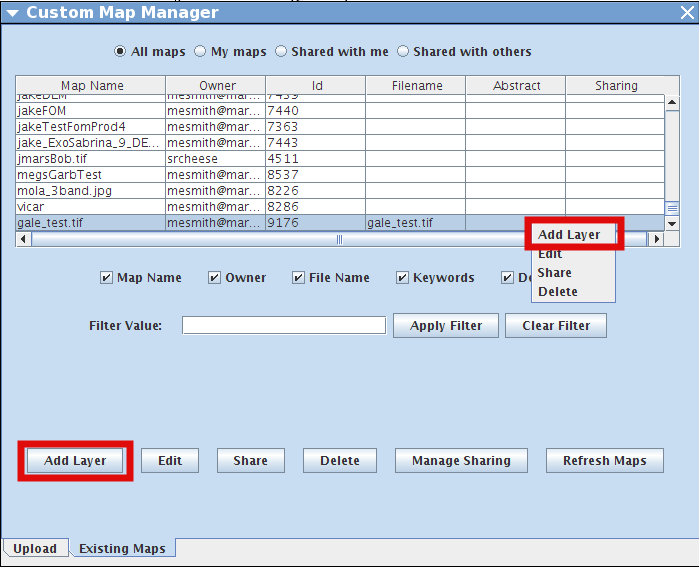
The image/map that you uploaded will be added to your mainview.
Deleting a Map
Deleting an existing map is easy!
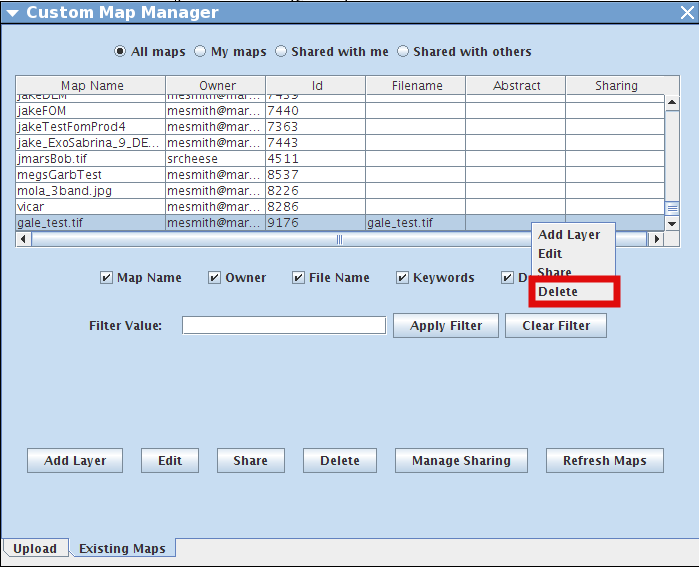
1) Make sure you are on the "Existing Maps" tab on the "Custom Map Manager"
2) Locate and select the map you'd like to delete by clicking on the map. This will make that one line highlighted.
3) Right click the map selection --> Delete
Sharing a Map
Want to share a map that you've uploaded with someone? You can!
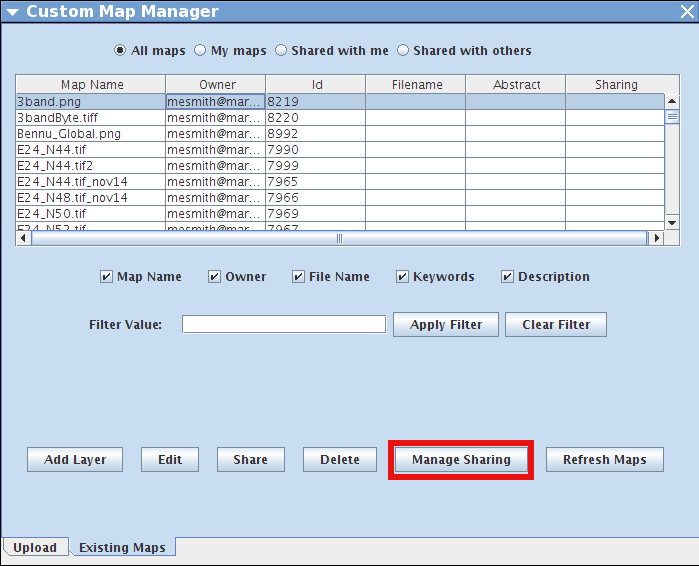
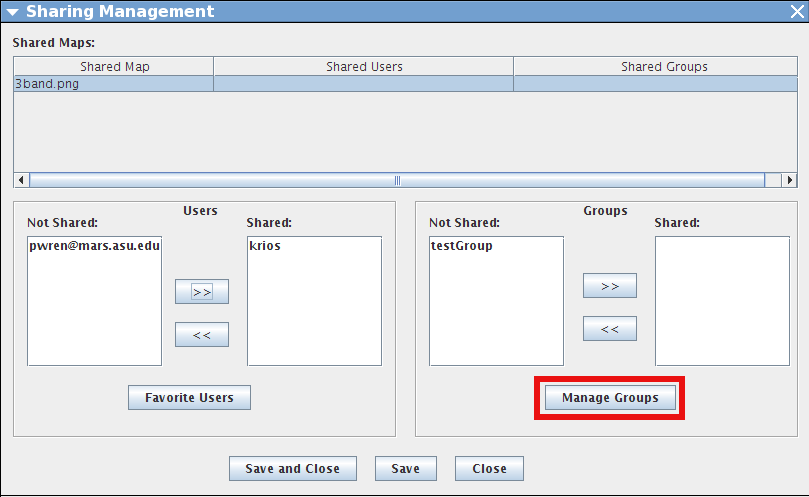
Select the file you would like to share and then click the "Manage Sharing" button to get started.
The Image you have selected is now in the "Shared Map" table at the top of your window. You now have 2 sharing options. You can share with another user(s) OR you can share with a group(s).
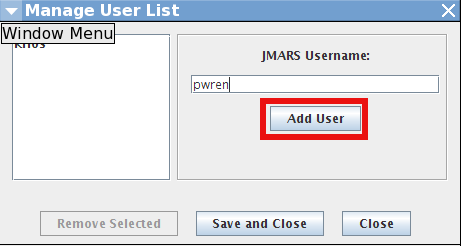
To add shared users, click "Favorite Users" and another window should pop up.

This window is where you manage your favorite users. You can keep track of the users you share frequently with using this manager. Enter the name of the JMARS user and click "Add User". The JMARS user name should add to the box in the left if it is a valid user name.
You can also share your map with a group. To do this, click the "Manage Groups" button.
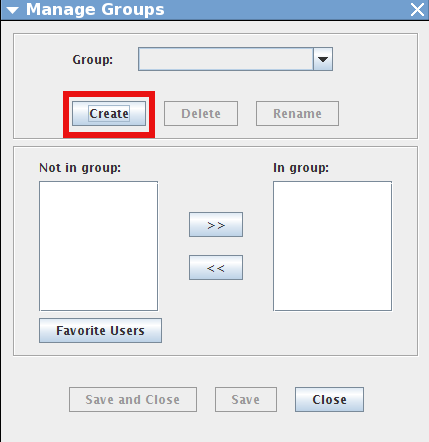
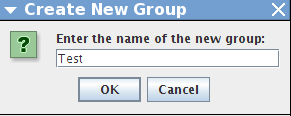
Create a group by clicking the "Create" Button. Then, name your group and press ok.
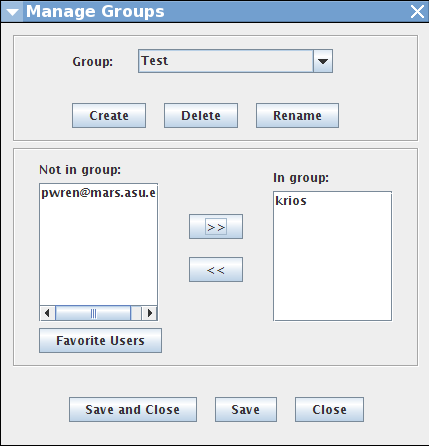
Now that you have a group, you need to add users to your group. You can add user names to your Favorite Users list and they will show up on the left hand side box. To add them to your group, click the right arrows. You should see the selected name move to the "In group" area. When you're done, click "Save and Close"
Then select your map that you are sharing so the columns can update. The groups and users that you have selected should be able to see your map now!
